Carnage Write-up
Scenario: Eric Fischer from the Purchasing Department at Bartell Ltd received an email from a known contact containing a malicious document attachment. Upon opening it and clicking "Enable Content," his workstation began making suspicious outbound connections. In this investigation, we analyze the captured network traffic (
carnage.pcap) to reconstruct the full infection chain, identify Cobalt Strike Command & Control (C2) servers, and uncover post-infection malspam activity.
Room URL: https://tryhackme.com/room/c2carnage
1. Scenario & Initial Triage
We start by opening carnage.pcap in Wireshark to examine the captured network traffic. Our first objective is to determine the exact timestamp of the initial HTTP connection to the malicious IP address.

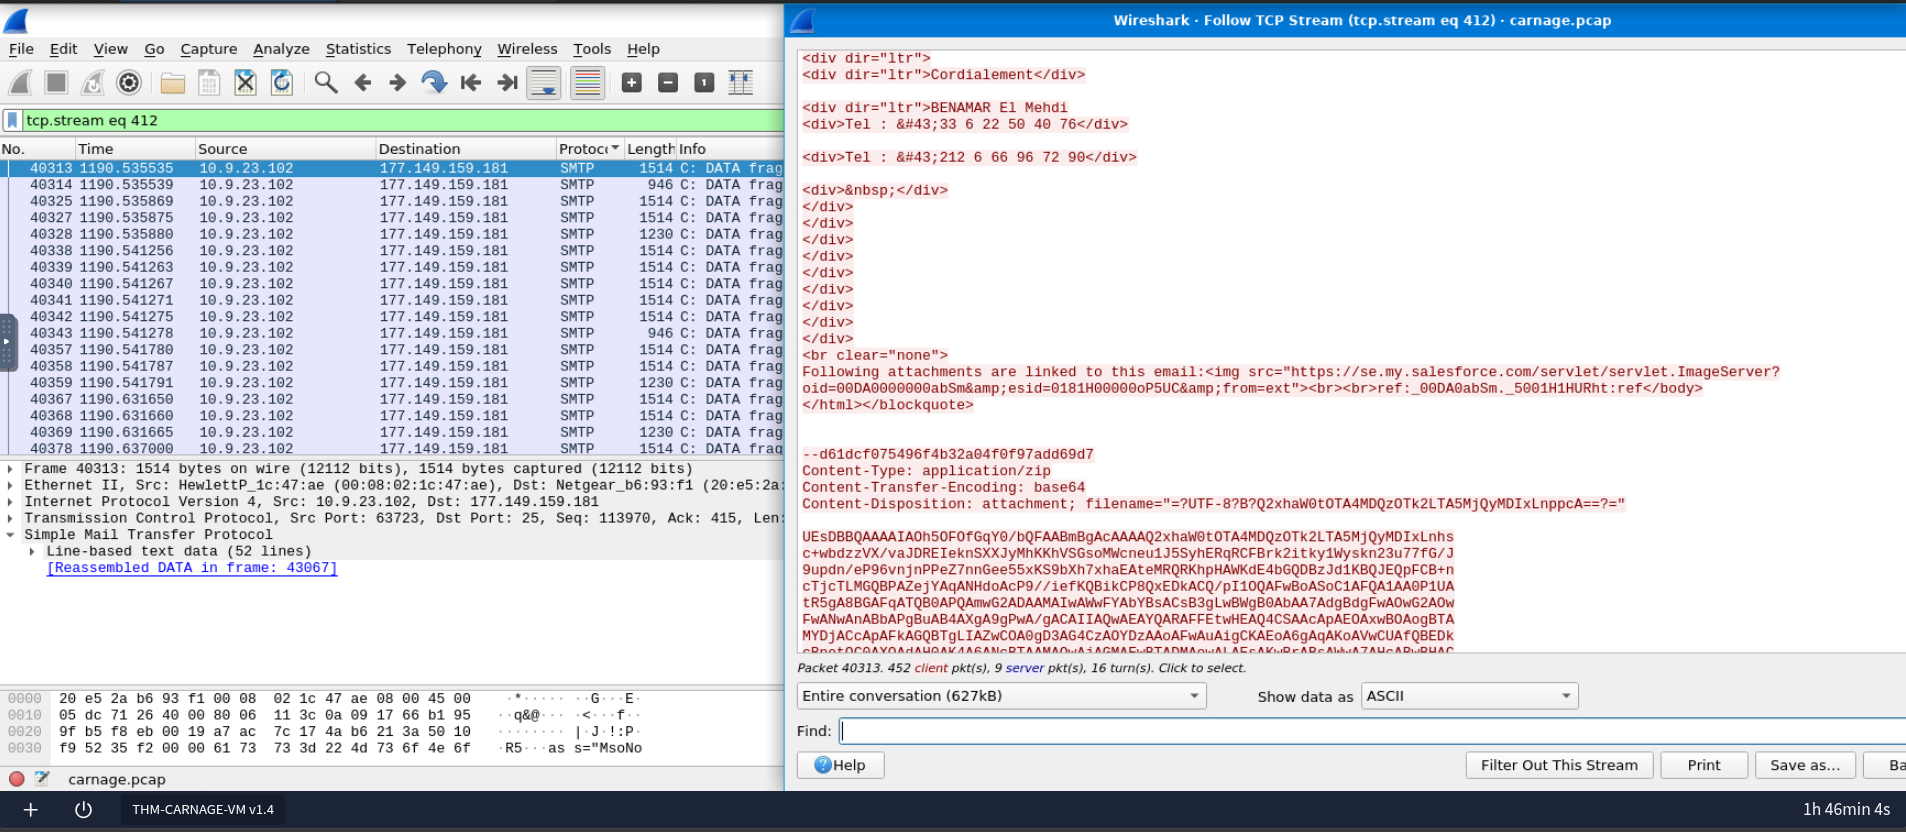
During initial inspection using the smtp filter, we observe email traffic containing a Base64-encoded ZIP attachment.
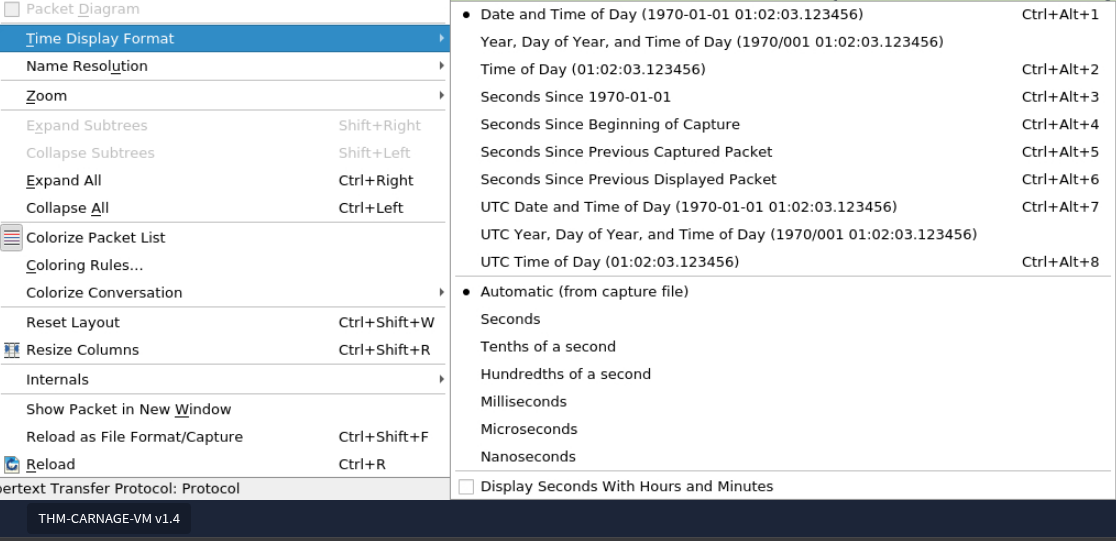
To pinpoint the initial web connection, we filter by the victim's source IP address and the http protocol. Next, we adjust Wireshark's timestamp settings under View -> Time Display Format -> Date and Time of Day to display the exact date and time of the first HTTP packet.
2. Malicious Payload Delivery
Next, we need to identify the name of the ZIP archive downloaded onto the victim's workstation.

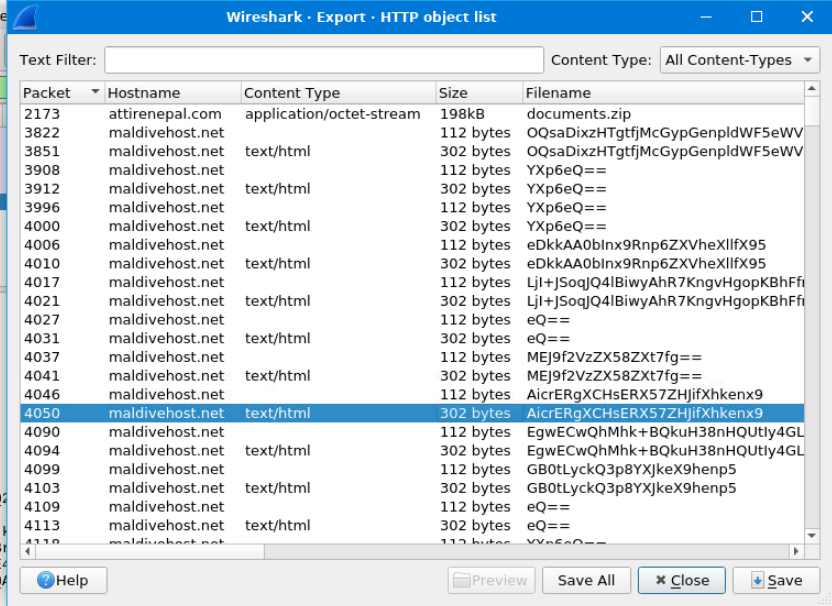
By navigating to File -> Export Objects -> HTTP, Wireshark lists all transferred HTTP files. Packet 2173 reveals an application/octet-stream download named documents.zip hosted on attirenepal.com, which also answers the question regarding the hosting domain.
The next task asks for the name of the file contained inside documents.zip without downloading or extracting the archive locally.

We isolate the download packet using the display filter:
http.content_type contains "application/octet-stream"
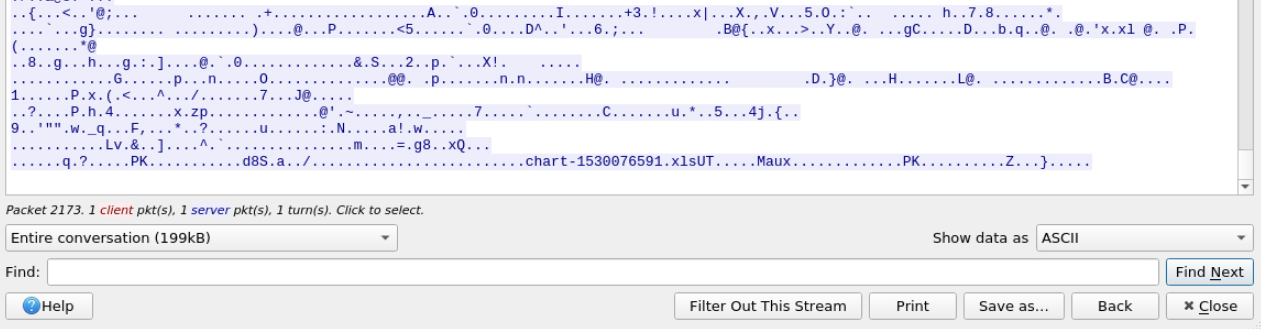
Following the HTTP stream (Follow -> HTTP Stream) and scrolling to the bottom of the raw ZIP binary data reveals the internal PKZIP header containing the embedded Excel spreadsheet filename.
Inspecting the HTTP response headers in the same stream reveals the web server software (LiteSpeed) and server metadata.
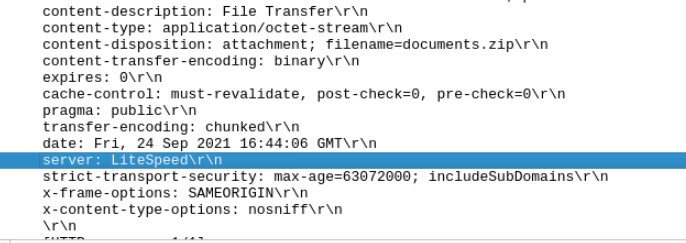
We are also asked to identify the exact version of the web server.

Checking the X-Powered-By header within the HTTP response provides the exact PHP/server version details.
3. Multi-Domain Infrastructure
Malicious files were delivered to the compromised host from multiple domains. We need to identify all three domains involved in this delivery stage.

By sorting the packets chronologically right after the documents.zip download and enabling Wireshark's DNS name resolution, we can trace the subsequent DNS queries and TLS handshakes to domains such as finejewels.com.au.
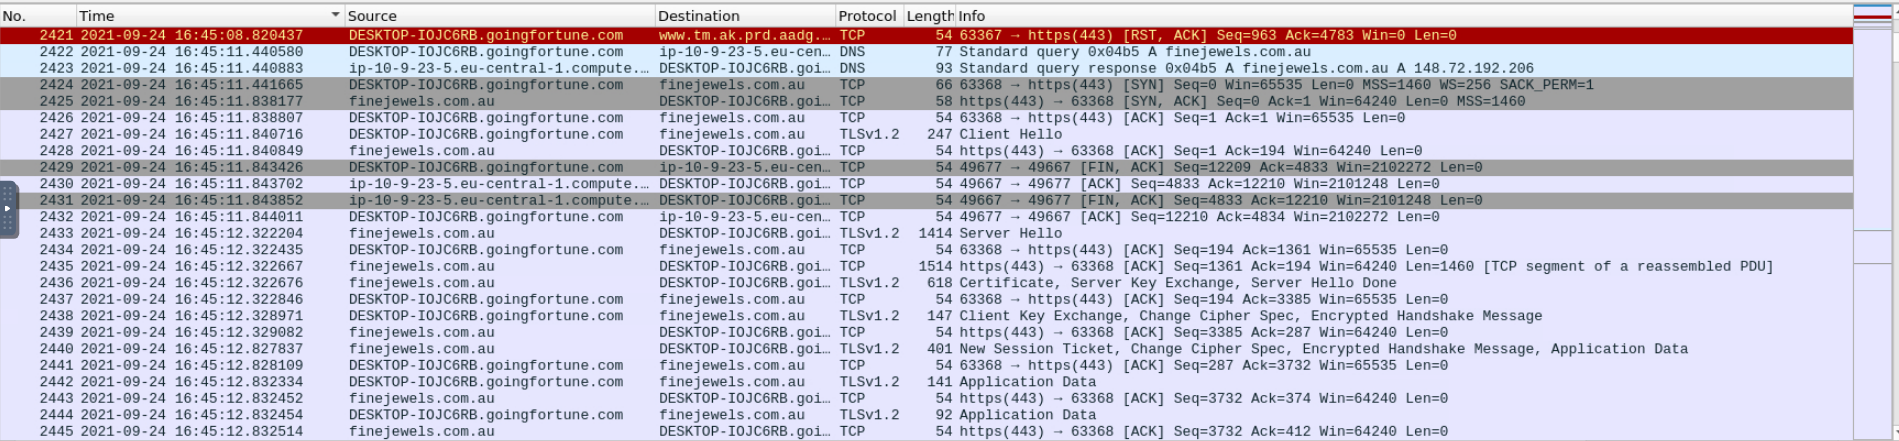
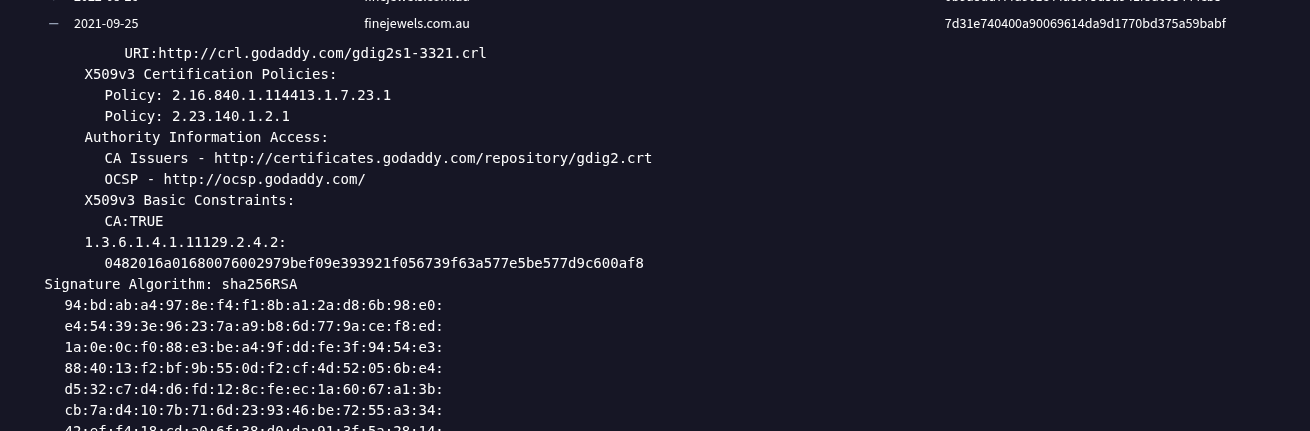
Next, we need to determine which Certificate Authority (CA) issued the SSL certificate for the first domain identified above.

Searching for the domain on VirusTotal and checking the Relations -> Historical SSL Certificates tab for September 2021 reveals the issuer details (GoDaddy).
4. Cobalt Strike C2 Analysis
The investigation now shifts toward identifying the two Cobalt Strike Command & Control (C2) server IP addresses.

Opening Statistics -> Conversations in Wireshark and sorting by the highest packet volume from server to client highlights suspicious external hosts. Cross-referencing these domains and IPs in the VirusTotal Community tab confirms two Cobalt Strike C2 servers: 185.106.96.158 (survmeter.live) and 185.125.204.174 (securitybusinpuff.com).
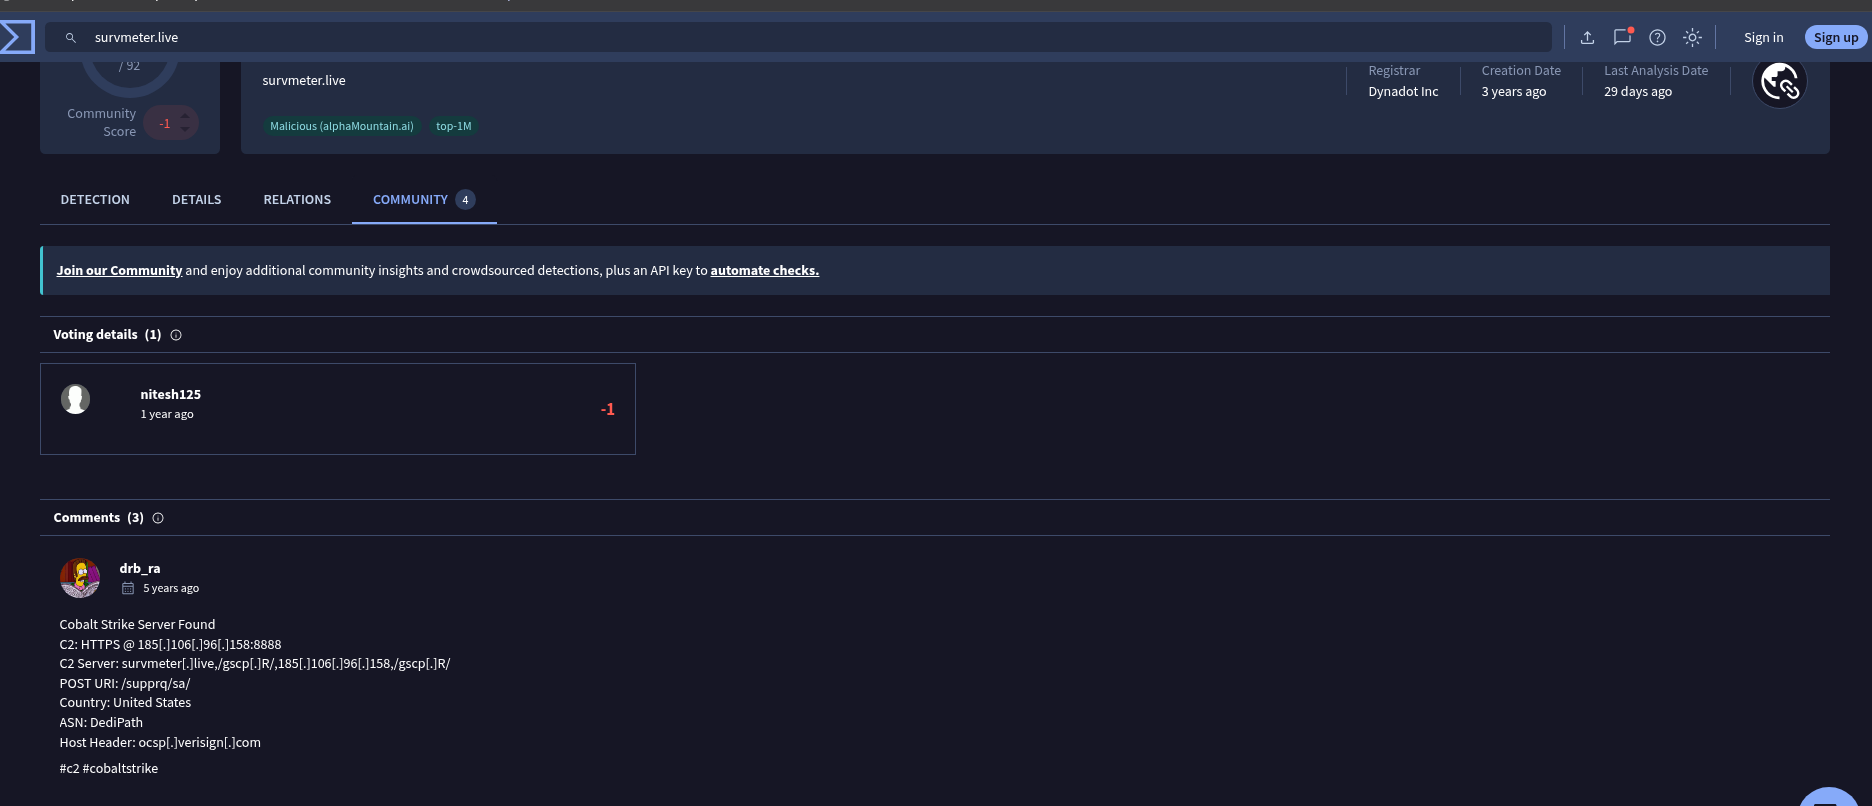
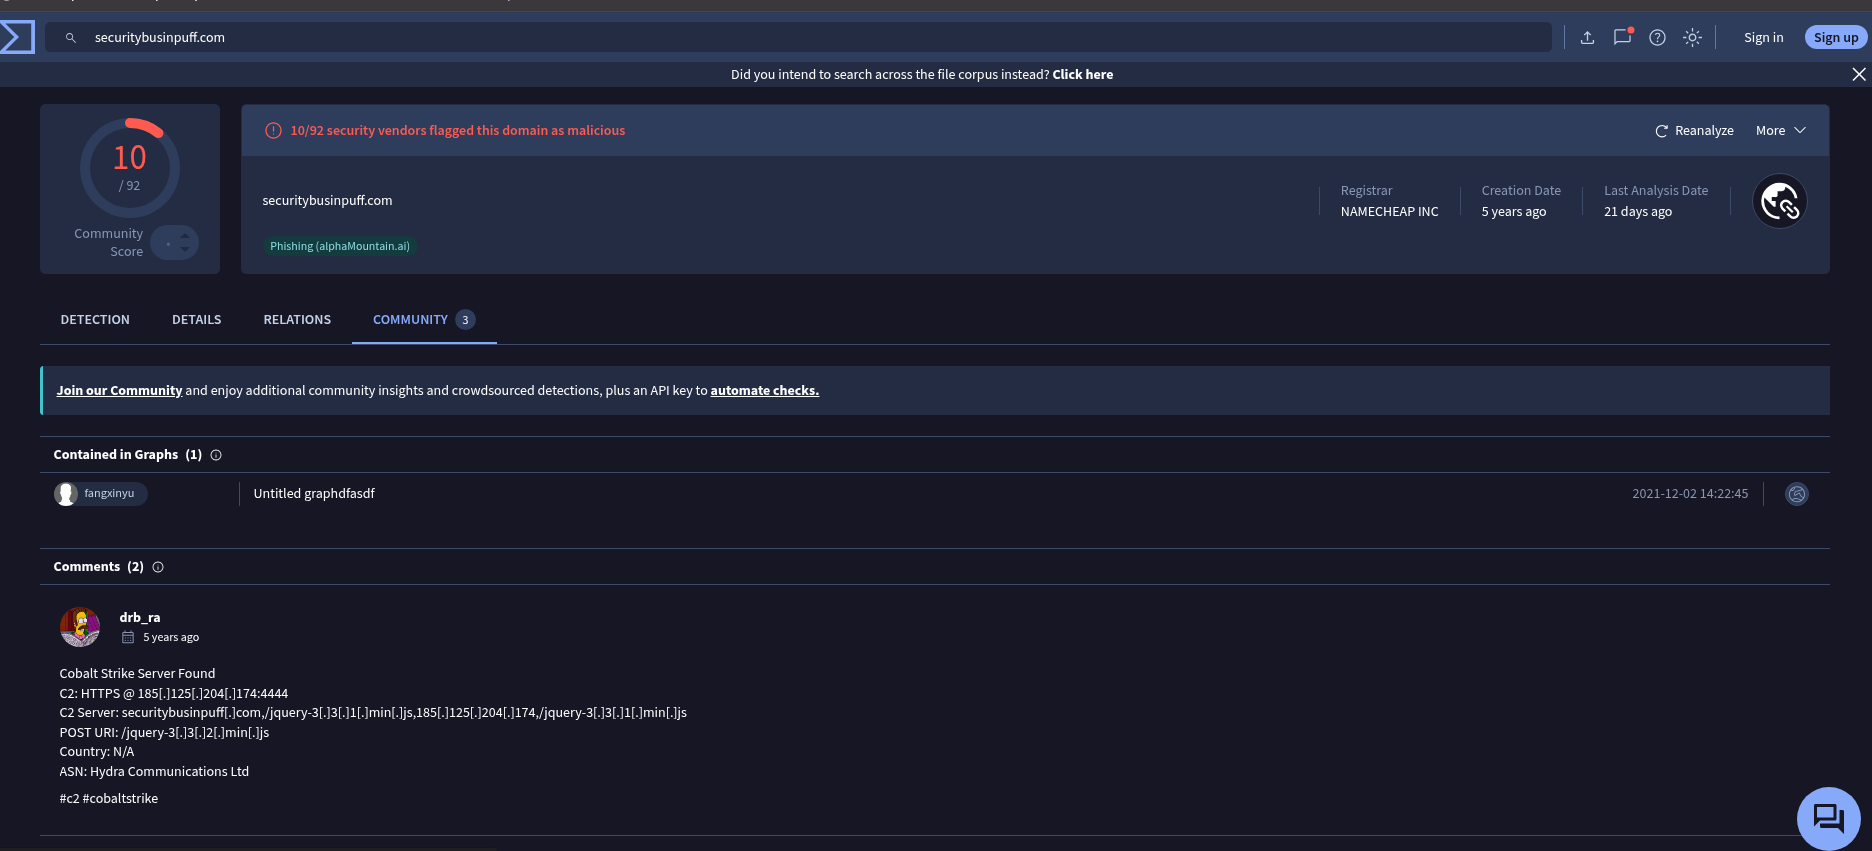
With both C2 IP addresses confirmed, we need to extract the spoofed HTTP Host header used by the first C2 server along with the domain names associated with both IPs.
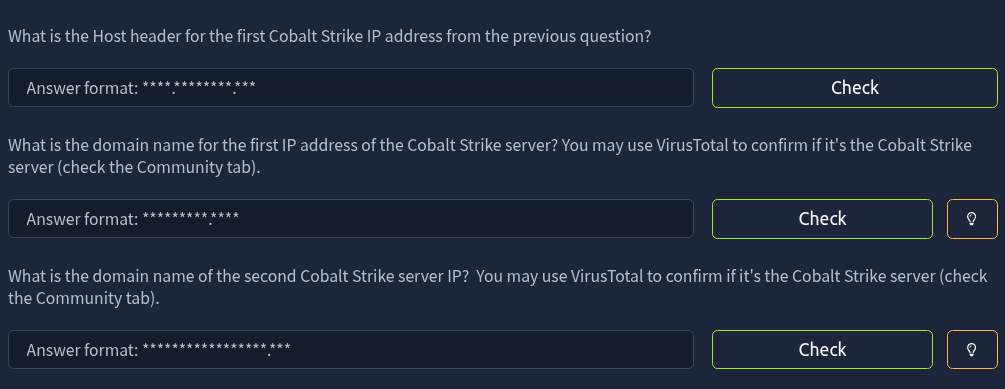
Filtering for HTTP traffic directed to 185.106.96.158 (Frame 6326) reveals a GET /spfooh/cacerts.crl request masquerading with a spoofed Host: ocsp.verisign.com header—a classic Cobalt Strike malleable C2 profile technique.

5. Post-Infection & Exfiltration
Next, we identify the domain involved in post-infection C2 communication.

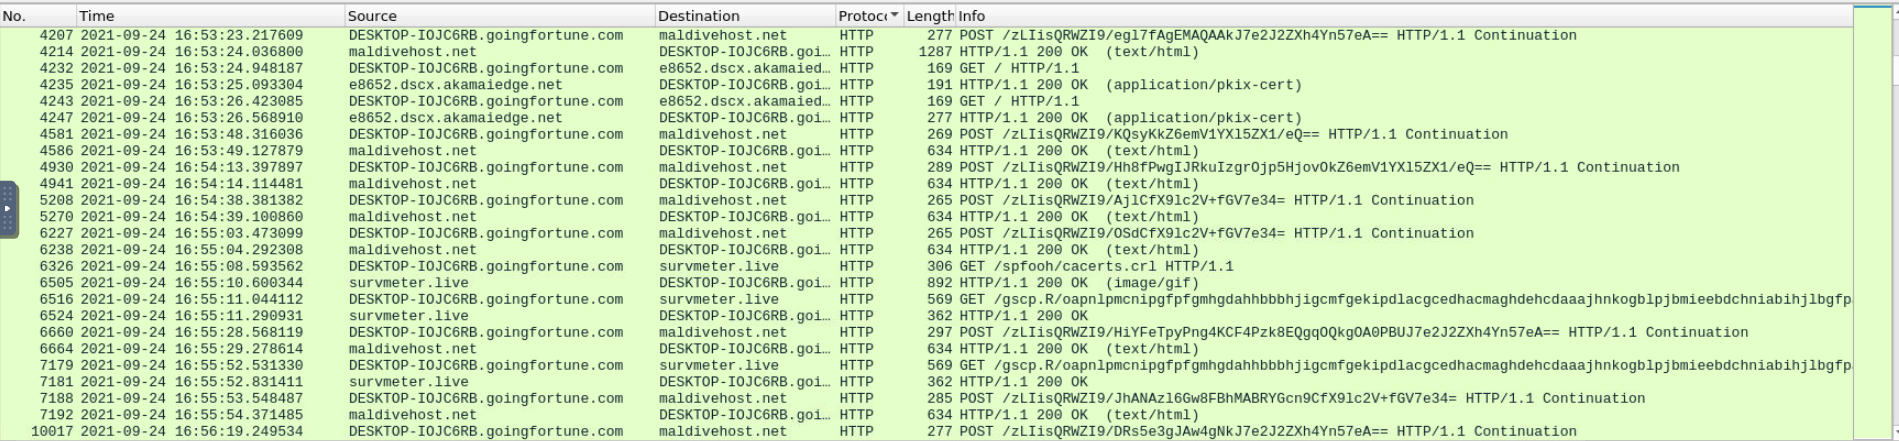
Examining the HTTP traffic shortly after the initial payload execution shows ongoing communication with maldivehost.net and survmeter.live.

We then need to find the first eleven characters sent by the victim host to the malicious post-infection domain.

Filtering by the destination IP of maldivehost.net and inspecting the first outbound HTTP POST request (Packet 3822) reveals the URI path containing the transmitted string.

The following question asks for the packet length of this initial outbound C2 packet.

Looking at the Length column for Packet 3822 in Wireshark gives us the exact byte size (281).

Next, we check the Server HTTP response header returned by this malicious domain.

Applying the http.response filter on the same IP address lets us inspect the server banner in the response headers.
6. IP Reconnaissance & Malspam
Before launching secondary spam campaigns, the malware checked the victim's public IP address via an external API. We need to find both the timestamp of the DNS query and the API domain queried.
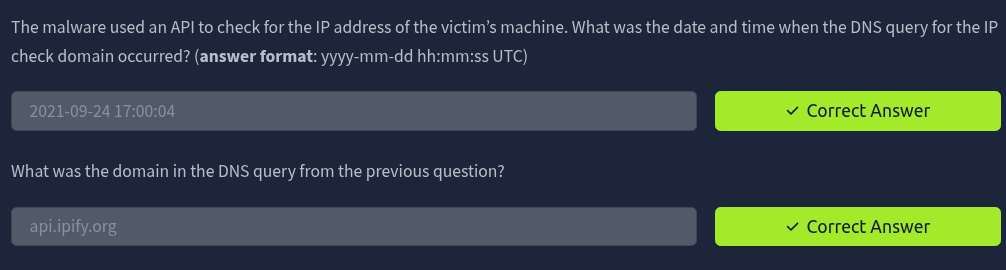
Using the DNS display filter below quickly isolates API lookups occurring after the compromise:
dns.qry.name contains "api"
Packet 24147 shows a DNS query to api.ipify.org at 2021-09-24 17:00:04.

Finally, the compromised host began sending out malicious spam (malspam). We need to identify the first MAIL FROM address observed and the total number of SMTP packets in the capture.

Filtering SMTP commands with the following expression reveals the sequence of spoofed sender addresses, starting with Packet 28576:
smtp.command_line contains "MAIL FROM"

For the final question, we apply a simple smtp display filter and read the total count of displayed packets from Wireshark's bottom status bar.
